Pattern Hack: Fern Top with Puffy Sleeves
Today I’m sharing a new Fern Top hack that might just be my all time fave, inspired by one of my fave sewists to follow on Instagram, Andrea Jones!


A few weeks ago, Andrea of @andrea_djones posted a Fern hack that was a big hit! She added puffy sleeves to her top and shared the process in her Instagram stories:


You all loved it (a few of you have made your own versions!) and I also super loved it! It gave me an idea for a hack of my own, inspired by these peasant tops I saw on Anthropologie.


This hack is SO EASY, y’all. And if you’re into a little sleeve drama, I think you’ll enjoy it.
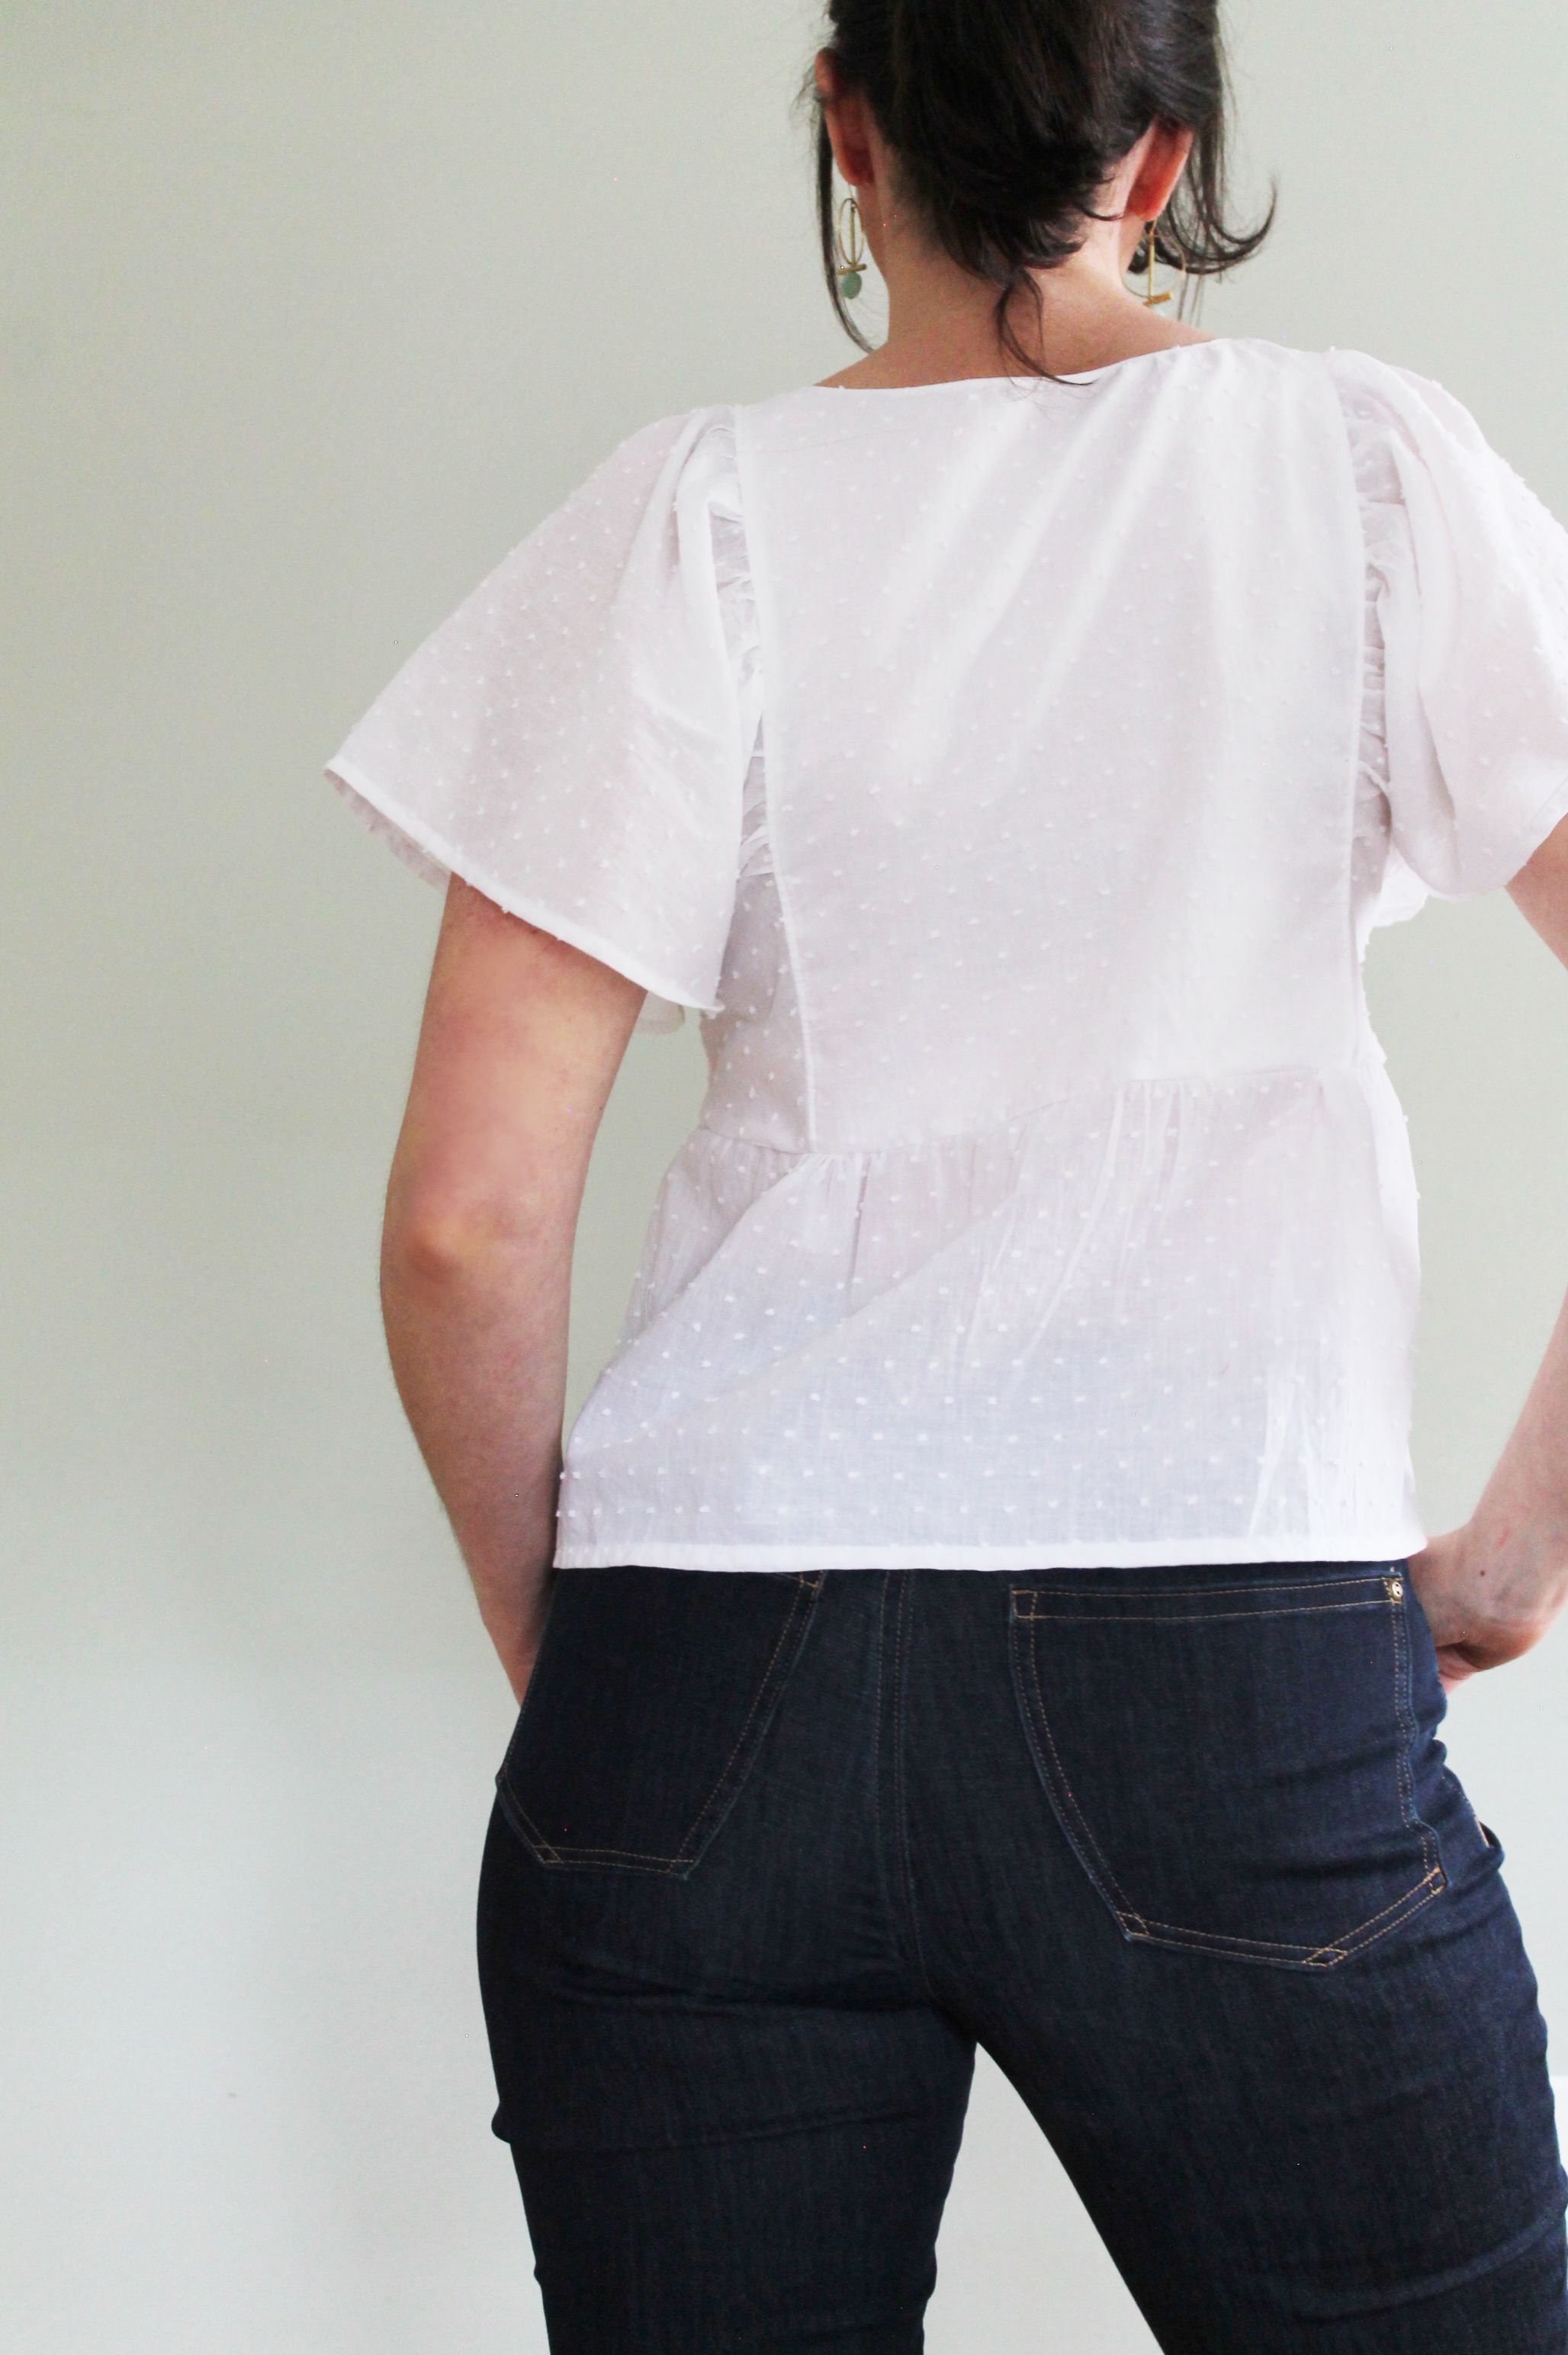
I made this one out of some super sweet white clip dot fabric and it is so light and flowy and I can’t wait to wear it in public once the quarantine is lifted (people, I have made so many garments during this strange time and I need somewhere to go so I can wear them, for real).
I originally bought fabric from Vogue Fabrics for this make, but this quarantine has made delivery dates a moving target and my package has been lost in USPS limbo for three weeks as of this post. Luckily, my favorite local fabric shop, Seams Fabric, started offering curbside pickup AND limited in-store browsing last week AND? Jessy, the owner, had clip dot in stock. Whoop! I jumped on it (and made a few other impulse purchases, duh). It made my day to browse and chat and touch fabric.
OK, on to the hack details!
I used the square neck expansion pack for this Fern Top hack.
First, I lined the center front and center back panels since the clip dot was a little sheer (I have a tutorial on this here, with an eyelet fabric. Which would also be ADORABLE for this hack, too).
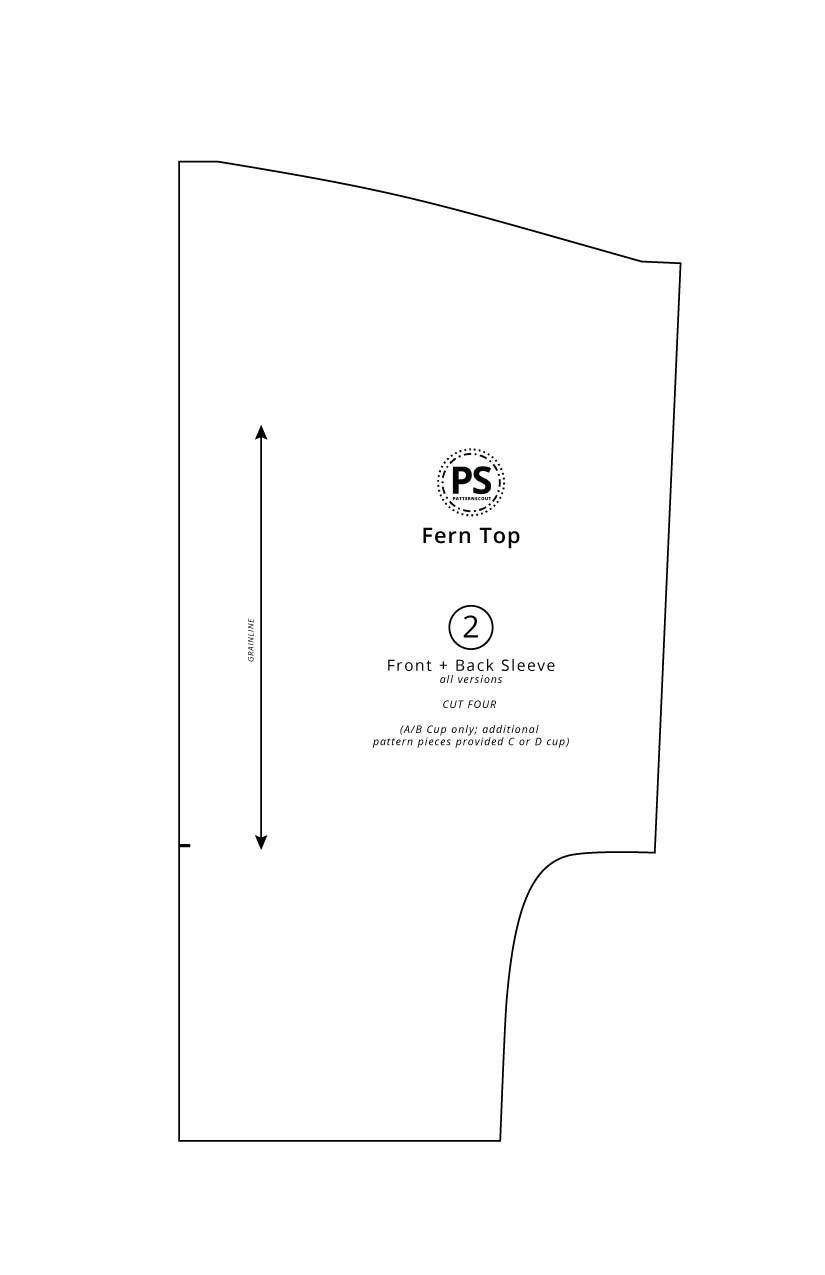
Next, I modified the sleeve to add the pouf.
Grab your pattern, some extra paper, scissors, and tape. I played around with the shape quite a bit and NEARLY abandoned this project when my husband said it looked like I was wearing a dress meant for my 5 year old niece as a top. But then I remembered that HE DOESN’T KNOW FASHUN! Or maybe we have different taste in babydoll-inspired tops.
I soldiered on.
To achieve the shape, first square a line from the straight edge of the sleeve across the shoulder. Then freehand a curve from the underarm curve to roughly three or four inches out from the original sleeve edge (I originally had a longer sleeve that went out about 6 inches, but trimmed it when futzing with the sleeve). You can extend this as much as you like depending on how much arm coverage you want here.

(Side note: I have keratosis pilaris on my upper arms that I am a little self-conscious about, especially early in the summer when my arms have not seen much sun yet and the redness is much more apparent. This top is PERFECT for a little arm modesty while keeping things cool and breezy!)
Once you have that shape drafted, you will use the “slash and spread” technique to add the puff. Draw three slash lines equally spaced between the top of the sleeve and the notch at the straight edge. Cut these lines, starting at the straight edge, all the way to, but not through, the new curve you drew. You’ll leave a tiny bit of paper attached here to create three “hinges”.
Now spread the pattern apart at these lines and tape new paper underneath to secure the new shape in place. I spread each slash by 2”, adding a total of 6”. Clean up the edges by smoothing the curves created by the slash and spread.


NOTE: I used the pattern piece without darts, so the front and back sleeve are the same. But if you are using the C or D cup size pattern, you will do the same steps on the front and back sleeve.
Time to cut fabric!
I cut this new sleeve piece on the fold (the fold is perpendicular to the grainline here). If you are using the C or D cup patterns, you will connect the front and back sleeves at the top straight edge and cut as one piece on a single layer of fabric. Make sure to transfer all the pattern notches as usual.


Gather the sleeves
Sew two rows of gathering stitches along the long edge of the sleeve, starting and stopping at the notches on the front and back. Gently pull the thread tails to gather the sleeve.


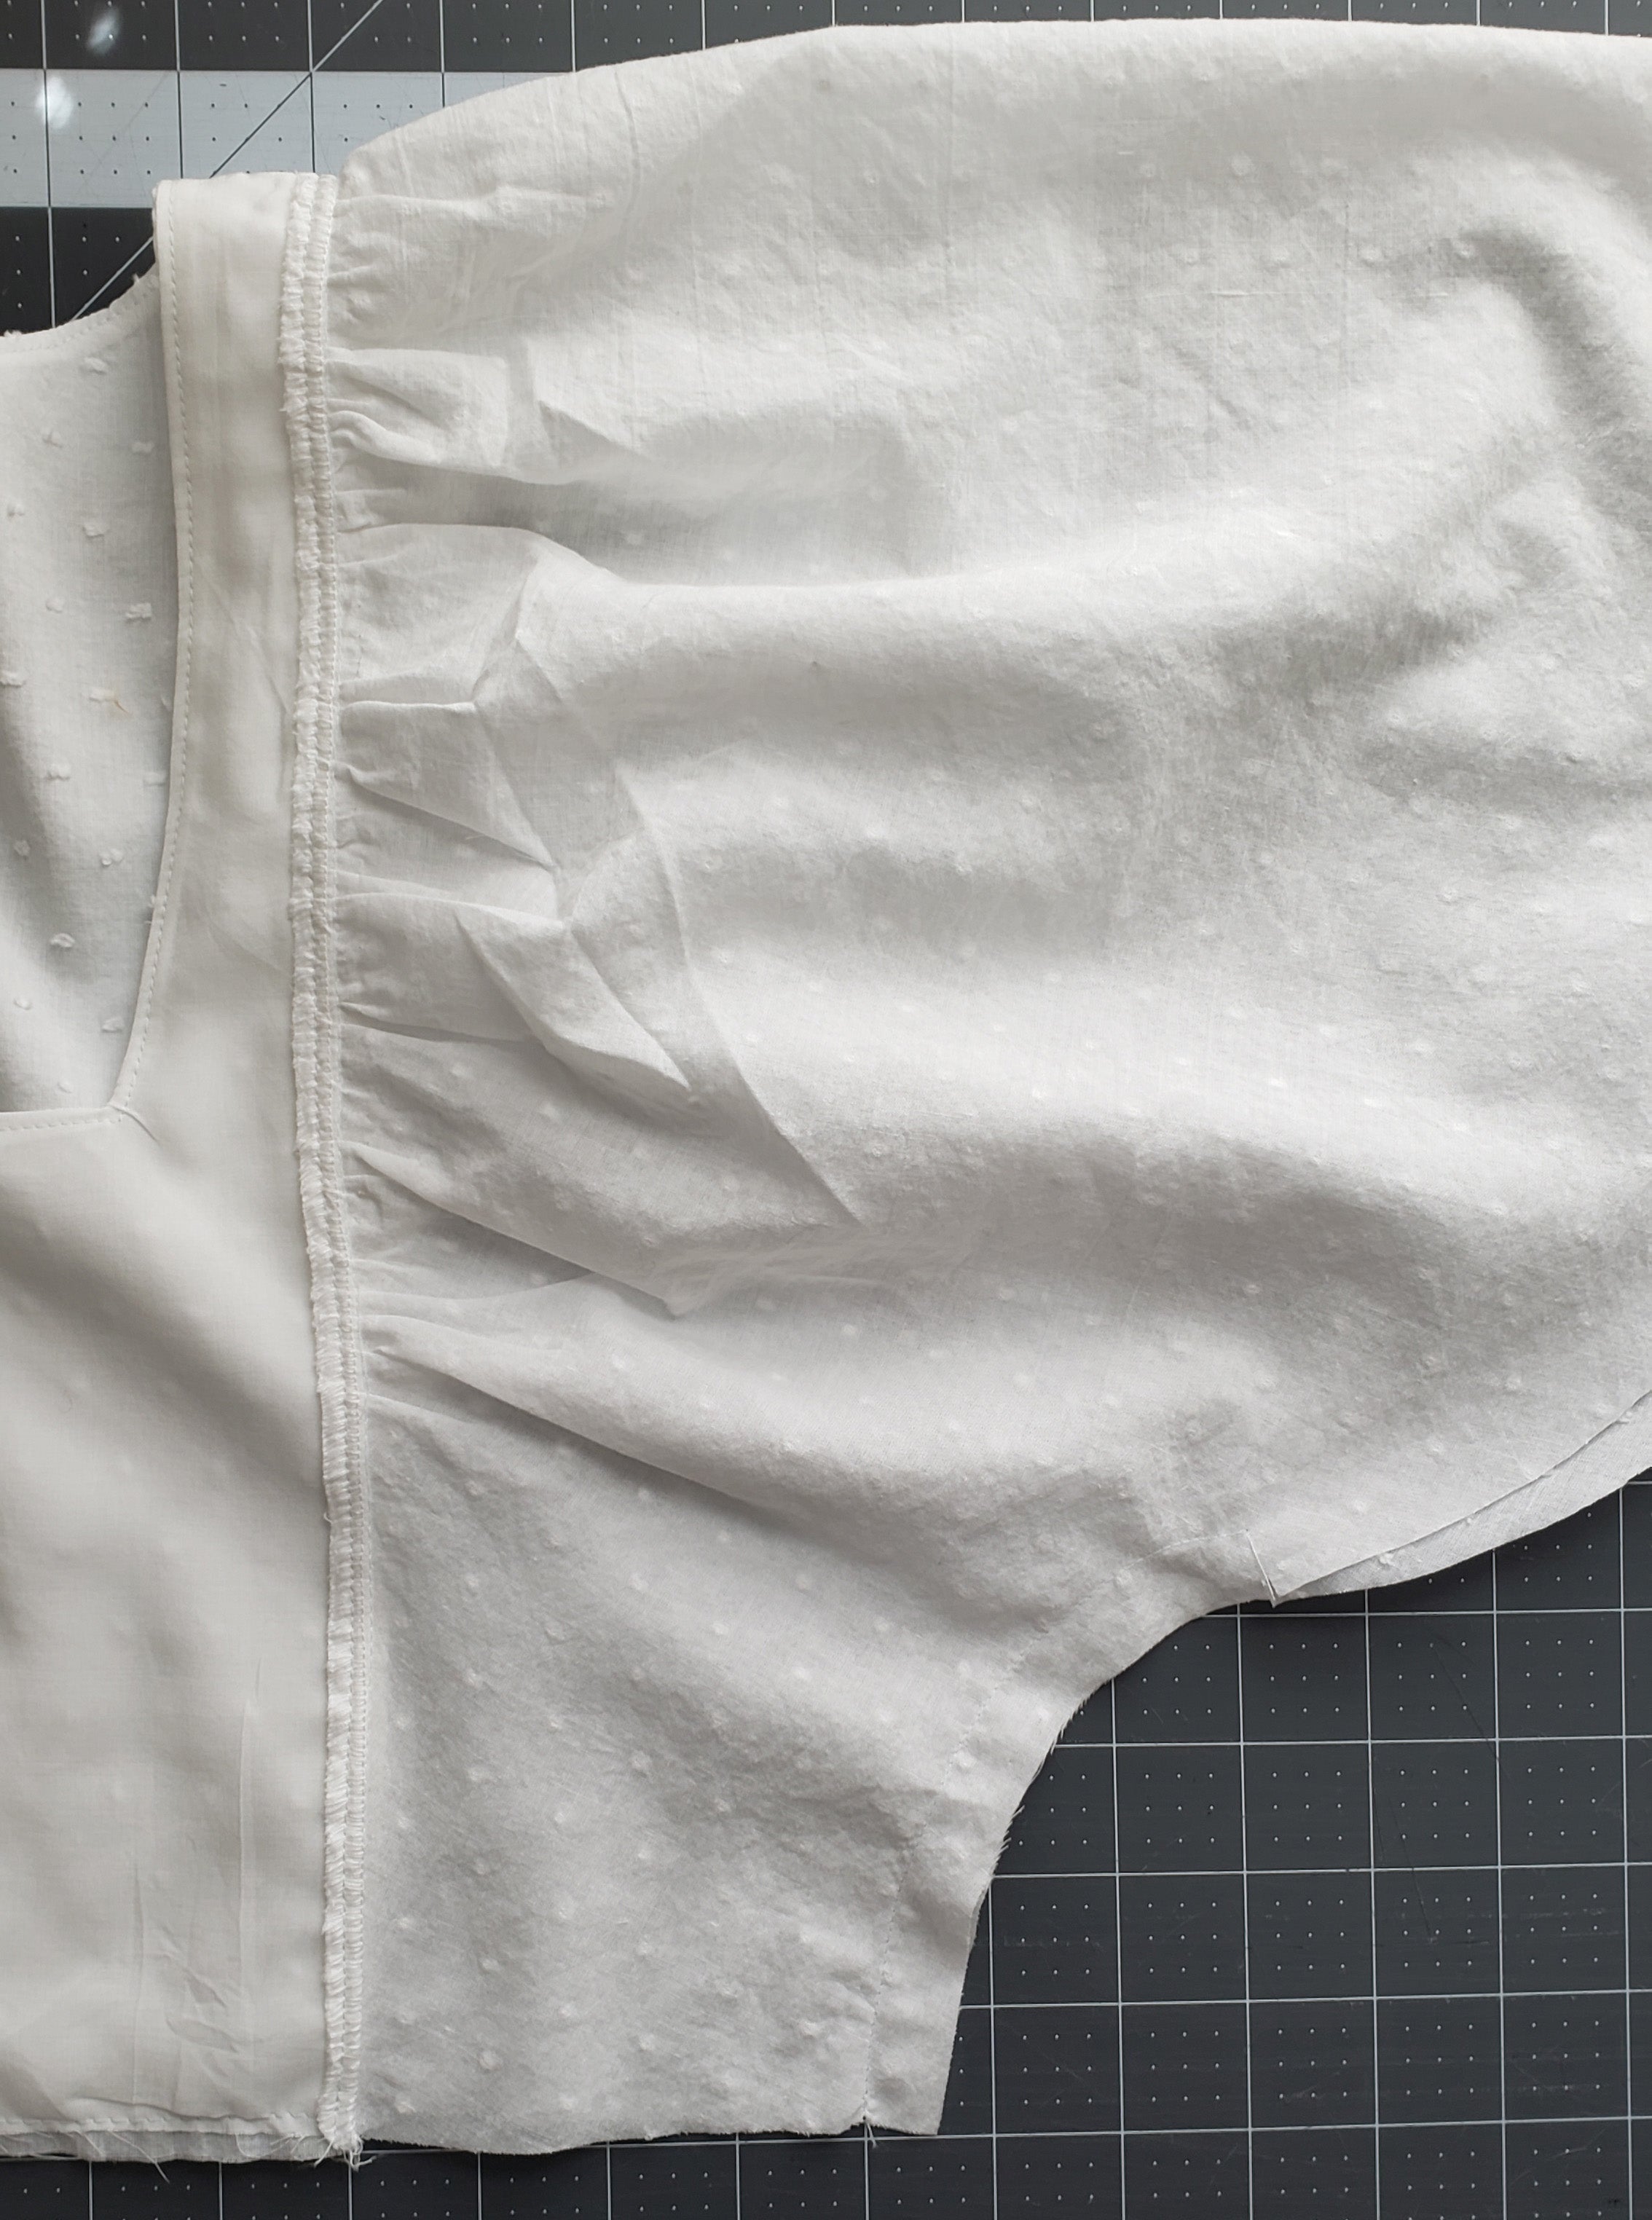
Attach the sleeves to the center bodice
You’ll want to attach the center front and center back bodice pieces together at the shoulders first. Now lay the center bodice pice face up and align the gathered edge of the sleeve with the edge of the bodice, right side facing one another. Evenly distribute the gathers between the notches. Below the notches on the front and back, the fabric will remain ungathered. Sew the sleeve to the bodice and finish the seams with your preferred method. I like to baste the sleeves to the bodice first to make sure all the gathers looks nice. Remove all the basting and gathering stitches once the sleeve is attached to the bodice.

I finished the seam with my serger and then topstitched the seam allowance down for a neat finish on the exterior. Repeat for the other sleeve.


Finish the sleeve edges
Sew the side seam of the sleeve piece with right sides facing one another, starting at the waistline and stopping in the center of the underarm curve. Backstitch here to secure the stitch.
Clip the seam allowance up to where you stopped the seam. Finish the seam allowance with your preferred method (again, I serged it).

Now fold the sleeve hem twice by 1/4” to create a narrow hem and topstitch to secure.


Sleeves are done!
Add the skirt
I used the version B skirt and instead of sewing pleats, I just created little gathers to keep the gathering theme going. I originally created a more voluminous gathered skirt, but felt it was a little too “babydoll” for me. So the subtle gathers worked much better for me here.
Before attaching the skirt, sew the side seams and hem the bottom edge. Then bast the gathers (or pleats) before attaching it to the bodice. Finish the seams in your preferred method (and you guessed it, I serged mine).
And you are done!
One of the things I love about the Fern top is how quickly it comes together. I also wear my Ferns like crazy in the summertime. They are so comfy but feel a few steps ahead of a basic t-shirt. This new hack will be a regular in my summer wardrobe rotation for sure.