Shirtmaking: Grown-on Button Placket
Today’s tutorial is easy-peasy! If you want a quick way to get that sewn-on button placket look on your Byrdie Button-up—without having to cut an extra piece of fabric for the button placket—this tutorial is for you. Doing the placket this way helps with lining up your fabric (especially helpful for prints and stripes!) and makes it easier to work with finicky, lightweight fabrics that are hard to pin together evenly.
One way to do this is to simply fold both button plackets toworad the interior side of the blouse like the left front bodice placket of the Byrdie Button-up. But if you want it to have the finished look of the right front placket, a little creative folding will get you there without the extra button placket pattern piece.
Cut the front bodice pattern pieces
Cut both front bodice pieces (mirrored) using the left front bodice lines indicated on the pattern piece and do not trim the right front bodice as originally instructed in the pattern. Both pieces will have the longer placket extension.
Interface the plackets
Apply a strip of interfacing 1/4” away from the placket edge on the wrong side of the fabric. You may only need a 1” strip of interfacing, but I did 2” here—enough to interface both sides of the finished button placket—because my fabric is a lightweight lyocell and the interfacing I had on hand was also pretty light weight.

Fold and sew the button placket.
We’re using the original button placket extension, but the folding is a little different and the clearances for each fold will also change so that we end up with a finished placket in the right location.
Start by laying the right bodice (when worn) right side up and fold the placket extension back by about 2 3/8”. In the photo below you can see that I have 1/8” of fold beyond my 2” of interfacing (plus the 1/4” of fabric beyond the interfacing on the opposite side). Press the fold.
Next, sew the edge fold with a 1/8” seam allowance to create a tuck along the full length of the placket.


Open the placket extension and lay the bodice face down. Press the 1/8” tuck you just sewed toward the placket.
Then fold the raw edge in by 1/4” and press.


Now fold the placket extension in half, aligning the edge fold over the 1/8” tuck, concealing the seam and interfaced placket interior. Pin the fold in place.
Edgestitch both sides of the folded placket from the exterior, catching the folded edge of the placket on the interior side and securing the 1/8” tuck within the placket.


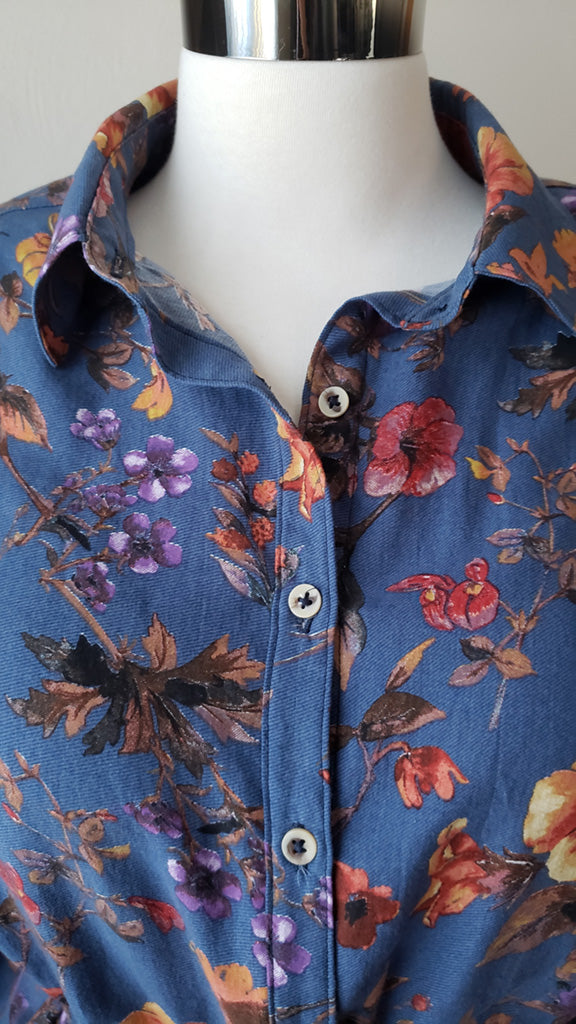
All done!
Now your folded placket looks like a sewn-on placket (and it was much quicker!). On the right photo below you can see how the placket will look next to the folded-under placket of the left front bodice.


Now you can finish constructing the garment per the pattern instructions (and be sure to check out how to add a yoke, like I did on this Version A Byrdie Dress!).
